The musical performance of Källa can be significantly improved by setting it to a fixed IP address, instead of the default setting which is DHCP (where the router assigns a network address to Källa).
Please follow the below steps, which are valid for a typical home network.
1. Using a web browser (Safari, Chrome, Firefox, Opera, etc.), enter the IP address of your router in the address bar at the top. The format is like the following example: 192.168.0.1. If you don’t know the address, check the bottom of the router or google its name and ‘IP’. You can also find it in a phone or computer connected to the local network.
2. Check what DHCP range your router has. This is the last number in the IP address, which the router assigns to every device that appears on your local network. If the range is for instance 100 to 199, you router will pick a number in that range and assign it to a device when it appears, like when you first switched on Källa. Now pick a number outside of this range and remember it. In this example you can pick 200. The example fixed IP address for Källa would then be 192.168.0.200.
3. Now check which IP address the router has given Källa. This can often be found under the label ‘Devices’, or something similar. In the above example, your router might have given Källa the IP address 192.168.0.105.
4. Enter Källa’s IP adress in the address bar of the web browser. You just need to edit the last number and then press return. The browser will now leave the router and connect to Källa. You should now see the web interface of Källa:
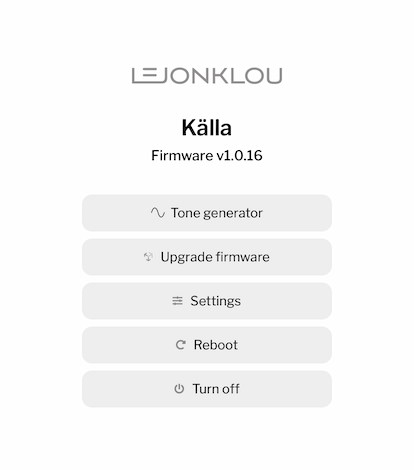
5. Choose Settings. Then select Manual. You should now see the manual IP configuration:
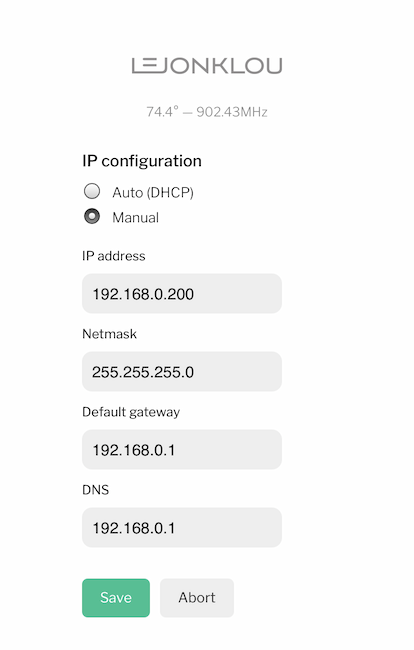
6. Under ‘IP address’, enter the IP address you picked in step 2. In this example, we chose 200 as it was outside the DHCP range of the router.
7. Enter the Netmask address: 255.255.255.0.
8. Enter the router’s IP address in the two fields below ‘Default Gateway’ and ‘DNS’. Make sure you do NOT enter the fixed IP adress of Källa (which you entered in step 6).
8. Write down the four addresses you have entered in step 6-8. This note may come in handy if you run into problems later.
10. Click ‘Save’. You will now return to Källas main page. Källa will now prompt you to reboot it. Click ‘Reboot’.
11. When Källa has rebooted and plays the startup melody in your speakers, its web interface is now available at the fixed IP adress that you chose. In this example, it’s 192.168.0.200. Surf to Källa’s web interface with a browser, to make sure you have access to it.
12. If you wish to access Källa’s web interface more easily on your iOS or iPadOS device, choose the Share button (box with an arrow pointing up) and scroll down to ‘Add to home screen’. Källa’s web interface will now appear like an app on your device.
13. Play music and enjoy the higher musical performance!
Note: If you set Källa to an incorrect fixed IP address – one that your router doesn’t accept – then Källa will play a deep bass note in your speakers. Källa will then revert to DHCP.