
Following the advice from the forum, I got a set of Linn
silver RCA plugs. In order to exchange them against my
RCA black Linns on a silver cable. Looking at them (silver
plugs) made me wonder how to solder them. No problem
with the signal lead, but what about the ground connection?
Still clueless, Klaus
LINN silver RCA plugs, how to
Moderator: Staff
I'd appreciate to have this thread deleted, as the solution is so simple
and probably not too many people are interested.
If admins are not in favor of this:
Checking an original silver cable shows how to proceed.
You cut off most of the shielding except a small portion which you can
solder on the radial surface (thickness, diameter) of the plug. The
plastic insert under the screw is used only with cables of a smaller
diameter than the Linn silvers.
K.
Good you figured that out, Klaus.
One thing might be worth mentioning: On the T-kable for LP12, the screen is cut down and the remainder split into two parts, each being soldered to two sides of the RCA ground.
On the Silver Interconnects, however, the shield is only soldered to one side of the RCA ground. This is how I do it, as I don't like the dual heating required for soldering the screen twice (being picky with the exact temperature, as I am).
The real challenge with soldering these RCA:s is the high mass of the barrel. It needs to be pre-heated enough, preferably rapidly, to achieve the optimal temperature for the actual soldering.
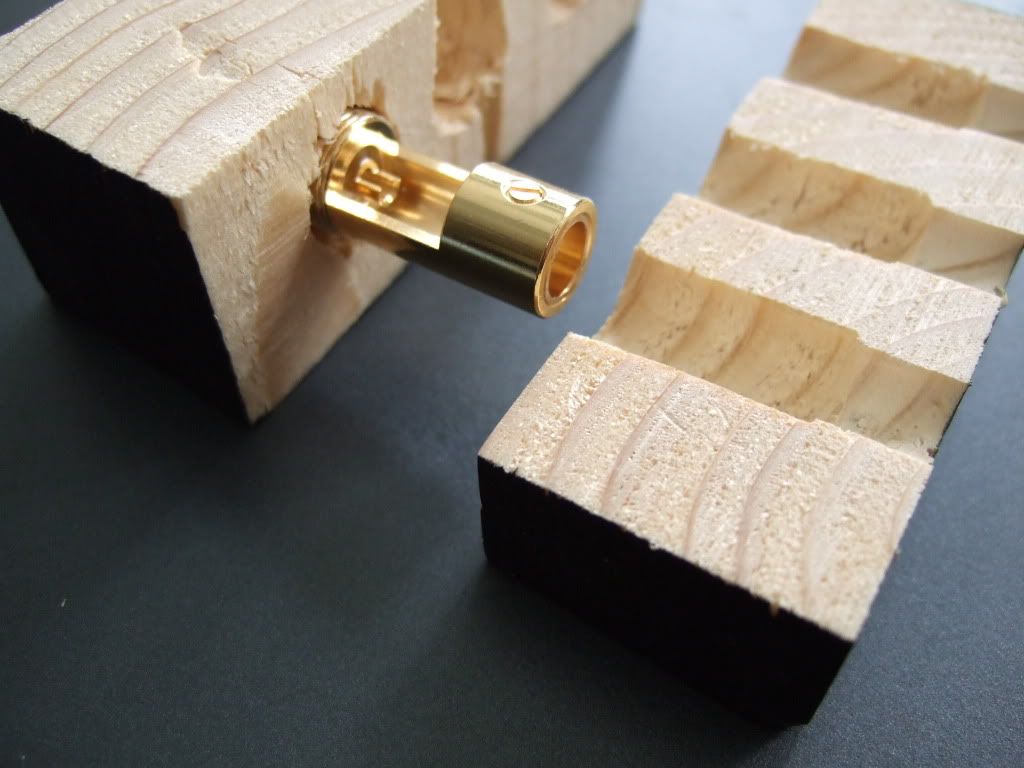
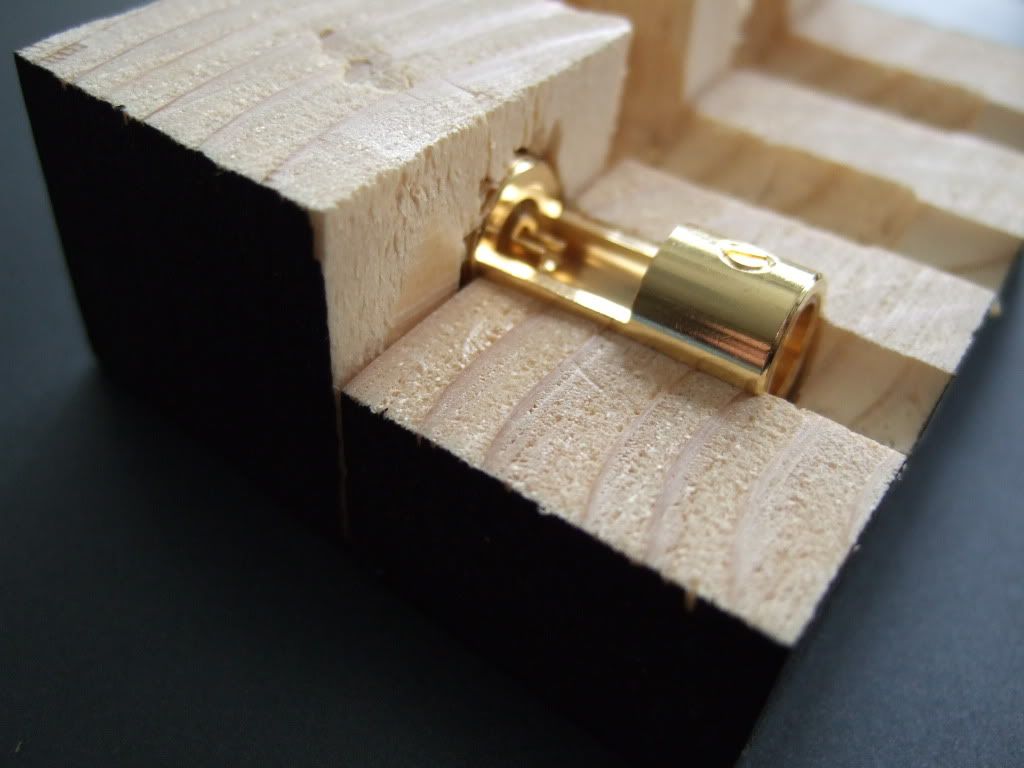
To overcome the problem of large mass/slow heating I built a solder
cradle which helps to avoid heat loss to everywhere. All that is needed
to make one is a few drills (3.5, 8, 10, 12 mm). It also holds the
plug nicely in place.
I use two solder stations to pre heat, so I have 130 W instead of 80 W
from my main station. (But my feeling is, you need a 2000 W heater.)
I further thought of pre heating the plugs by immersing them into
boiling water (more rapid heating than oven). Any objections?
Somehow more interesting than initially thought.....
Regards, Klaus
Last edited by k_numigl on 2010-08-20 14:37, edited 1 time in total.
-
Tony Tune-age

- Very active member

- Posts: 1661
- Joined: 2009-12-19 19:07
- Location: United States
I like that, very smart indeed :!:k_numigl wrote:To overcome the problem of large mass/slow heating I built a solder cradle which helps to avoid heat loss to everywhere. All that is needed to make one is a few drills (3.5, 8, 10, 12 mm). It also holds the plug nicely in place.
I use two solder stations to pre heat, so I have 130 W instead of 80 W
from my main station. (But my feeling is, you need a 2000 W heater.)
I further thought of pre heating the plugs by immersing them into
boiling water (more rapid heating than oven). Any objections?
And finally, I wonder about the 1 side shielding connection: Is there a
preferable side to which to solder it (pre amp, power amp)? And
will the cut off shielding strands, which are not soldered to the plug,
not make accidental contact to the plug, thus being in a less defined
state? (Careful cutting could minimize this risk, of course).
Somehow more interesting than initially thought.....
Tony Tune-age